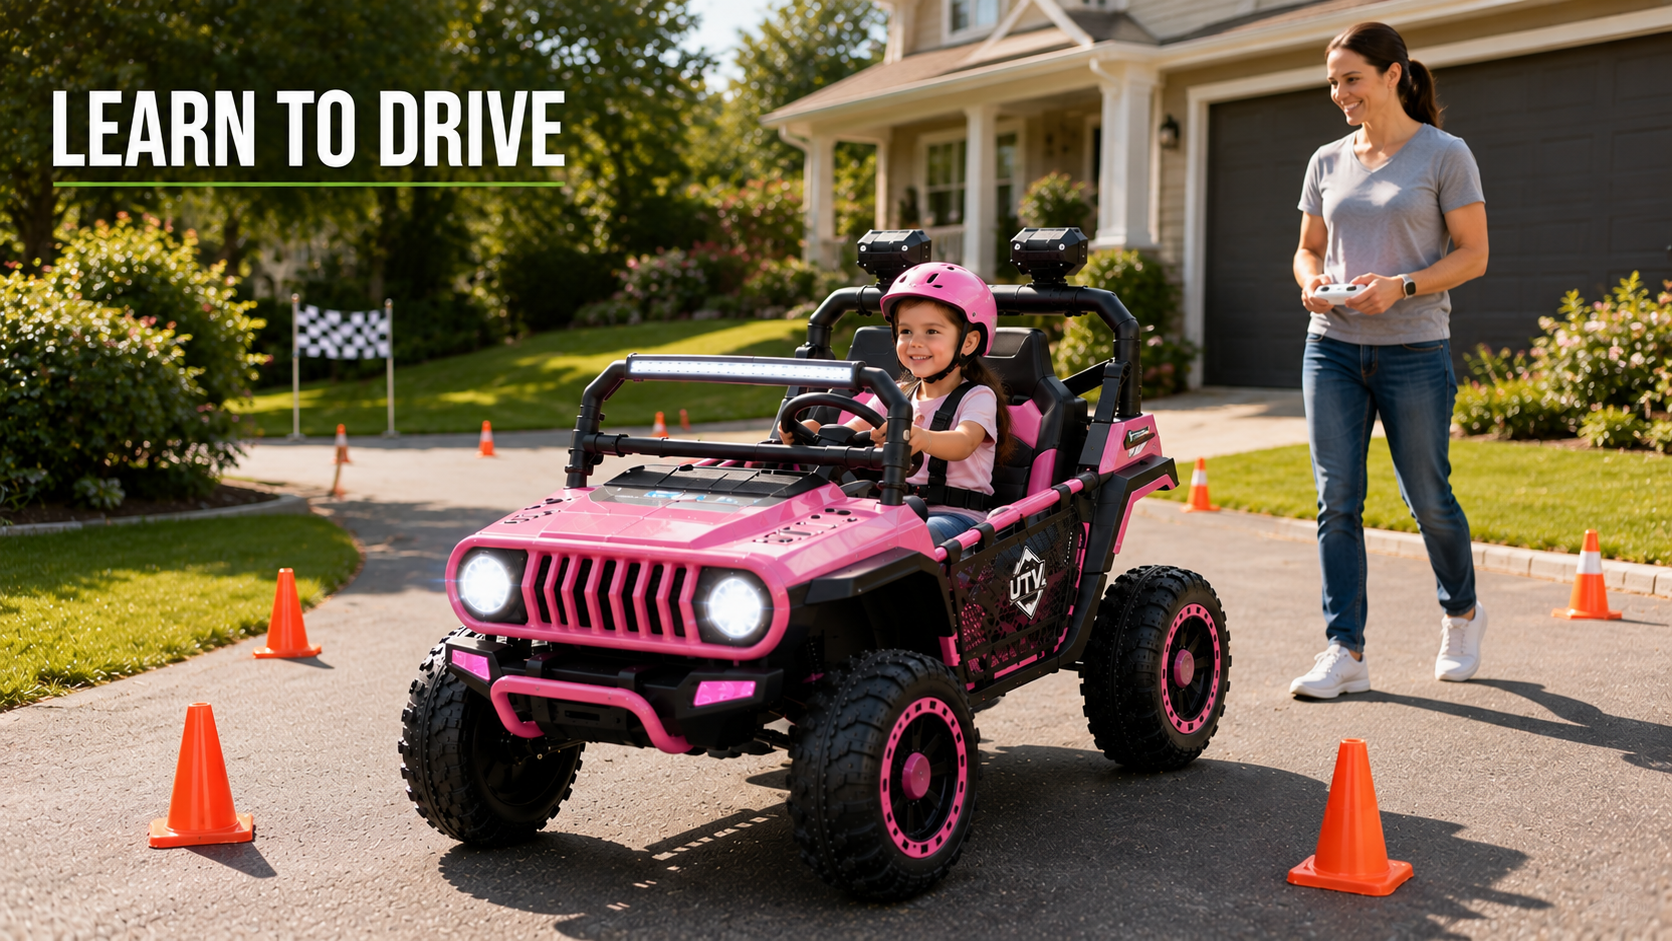
Most ride-on Jeep content focuses on the day the box arrives. Far less of it answers the question parents actually run into a week later: how do you get from “my child sits in the seat while I hold the remote” to “my child drives confidently and safely on their own”? That gap is where a lot of good ride-on Jeeps end up underused – wheeled out for a few remote-controlled laps and then parked in the garage, because nobody ever walked the child through the actual skill of driving it.
This guide lays out a practical, stage-by-stage method for teaching a child to drive aride-on Jeep, from full remote control through to confident solo driving. It covers what to look for at each stage, how to set up a safe practice space, common teaching mistakes, and what to do if a child is nervous or two siblings need to share one vehicle.
Quick Answer: The Four Stages of Learning to Drive a Ride-On Jeep
Most children move through the same four stages, whether they pick it up in a weekend or take most of a season:
Stage 1 – Remote-Only Mode: the child rides while a parent drives entirely by remote, so they can get comfortable with the motion, noise, and feel of the Jeep with zero pressure to control anything.
Stage 2 – Guided Mode: the child steers and controls the pedal or drive button while the parent keeps the remote in hand as a safety net, ready to slow or stop the vehicle at any moment.
Stage 3 – Supervised Solo: the child drives independently on the lowest speed setting while a parent stays close by, without touching the remote unless something goes wrong.
Stage 4 – Independent Driving: the child drives confidently within agreed boundaries – the driveway, the backyard, the cul-de-sac – while a parent supervises from a normal parenting distance rather than hovering at the vehicle’s side.
There’s no fixed timeline for moving through these stages. A cautious 3-year-old and a confident 6-year-old can both end up excellent, safe drivers – they just take different routes to get there. What matters is not skipping stages, not rushing past genuine hesitation, and reading your specific child rather than following a script.
Why a Staged Approach Beats “Just Let Them Try It”
It’s tempting to hand a child the driver’s seat on day one and see what happens. For a genuinely cautious child, that can backfire – an overwhelming first experience (too fast, too many buttons, too much vehicle) is often what turns a potentially confident driver into one who avoids the Jeep altogether. For a bold child, skipping straight to unsupervised solo driving removes the safety margin that the parent remote is specifically built to provide.
A staged approach solves both problems. It gives a hesitant child small, manageable wins that build real confidence instead of one intimidating leap. And it gives a confident child structure – speed limits, a supervising adult, and a clear sense of the rules – while their actual driving judgment is still developing. Theoutdoor ride-on Jeep buying guide covers what to look for before you buy; this guide picks up from the moment the Jeep is already in the driveway.
Before the First Lesson: Set Up the Right Practice Space
Where a child learns matters almost as much as how. A first lesson on a busy driveway near the street, or on a bumpy, sloped lawn, stacks the odds against a good outcome before the wheels even move.
Choose a flat, enclosed area for the first few sessions – a driveway away from the street, a cul-de-sac, or a fenced-in section of yard works well.
Clear the space of obstacles, toys, hoses, and anything a nervous new driver might swerve into or panic about.
Save grass, gentle inclines, and mixed terrain for later sessions, once basic steering and stopping are second nature on flat, predictable ground. Theguide to what terrain a ride-on UTV can actually handle is worth reading before moving practice onto grass or dirt.
Keep early sessions short – 10 to 15 minutes is plenty for a first lesson. Fatigue and frustration usually show up well before a child says so out loud.
Stage 1: Remote-Only Mode – Let Them Just Enjoy the Ride
Before asking a child to drive anything, let them experience what driving feels like without doing any of the work. In this stage, the parent controls the Jeep entirely from the remote while the child simply rides – no pedal, no steering wheel responsibility, nothing to get wrong.
This stage matters more than it looks like it should. It lets a child learn how the seat belt feels, how the doors latch, what the horn and lights do, how the Jeep accelerates and slows, and what “normal” feels like – all without the added cognitive load of controlling it. For younger or more cautious children, it’s reasonable to stay in this stage for several sessions before moving on.
Narrate what you’re doing on the remote (“I’m slowing us down now”, “we’re turning left”) so the child starts building a mental model of cause and effect.
Let the child hold the steering wheel loosely while you drive, so the wheel’s movement starts to feel connected to the turns, even though they’re not yet steering independently.
Keep the speed on the lowest setting for the entire stage – this is about comfort, not thrills.
Stage 2: Guided Mode – Hands on the Wheel, Remote in Your Pocket
Once a child is relaxed and clearly enjoying remote-driven rides, hand over steering and the drive pedal or button while keeping the remote close by. This is the stage where most of the actual learning happens, because the child is now making real decisions – which way to turn, when to speed up, when to stop – with a parent able to intervene instantly if needed.
Stand or walk close enough to reach the remote instantly, not across the yard.
Use the remote sparingly at first – let the child make small mistakes (a wide turn, a slow stop) rather than correcting every wobble, so they build real steering feel.
Reserve the remote for genuine safety moments: heading toward an obstacle, the street, another child, or losing control on a turn.
Practice stopping on command repeatedly. A child who reliably stops the moment you say “stop” is far closer to solo-ready than one who merely steers well.
This is also the stage to introduce simple, low-pressure practice drills – straight lines between two markers, wide gentle turns, and controlled stops – rather than free-form driving. For more open-ended play ideas once your child is confidently driving, theplay ideas and games guide for ride-on Jeepshas plenty of inspiration – save it for after the basics are solid rather than during early lessons.
Stage 3: Supervised Solo Driving
In this stage, the child drives on their own – steering, accelerating, and stopping without a parent’s hands anywhere near the controls – while an adult stays within a few steps, watching closely and ready to call out instructions or step in physically if needed. The remote stays in your pocket as a backup, not a crutch.
Keep the speed on the lowest setting until the child has shown consistent, reliable control over several sessions.
Stay within the boundaries you set in the practice-space stage – don’t let a confident solo driver wander toward the street or unfamiliar terrain yet.
Watch specifically for reaction time: does the child stop promptly when told to, or is there a lag that suggests they’re not yet processing instructions quickly enough for the next stage?
If the Jeep is a 2-seater and a sibling or friend is riding along, treat that as a Stage 2 session for the passenger’s benefit – an extra rider changes weight distribution and reaction time, so don’t assume solo-ready skills transfer immediately to driving with a passenger.
Stage 4: Independent Driving With House Rules
By this stage, the child has demonstrated reliable steering, consistent stopping on command, and good judgment around obstacles and boundaries across multiple supervised sessions. A parent can now supervise from a normal distance – nearby, watching, available – rather than staying within arm’s reach of the vehicle at all times.
Independent driving still means supervised driving. It does not mean unsupervised. A parent or responsible adult should remain present for every ride, and the household’s agreed rules – approved riding area, seat belt every time, no riding near the street, no higher speed setting without permission – should stay firmly in place. Thesafety guide for ride-on UTVs and off-road Jeeps is a good source for building out a full household rulebook once your child reaches this stage.
Signs Your Child Is Ready to Move to the Next Stage
Stage
Signs They’re Ready to Progress
Remote-Only → Guided
Relaxed body language during rides; asks to “have a turn” driving; reaches for the wheel unprompted.
Guided → Supervised Solo
Steers smoothly without overcorrecting; stops reliably on command; rarely needs the remote to intervene.
Supervised Solo → Independent
Consistent judgment around obstacles and boundaries across several sessions; quick, reliable reaction time.
Readiness is about consistency across sessions, not a single good ride. A great afternoon followed by a rough one the next day is normal – look for a pattern over several outings before moving to the next stage or the next speed setting.
Common Teaching Mistakes Parents Make
Skipping straight to the highest speed setting. A new driver needs time on the lowest speed to build steering and stopping habits before speed adds difficulty.
Correcting every small mistake. Constant remote intervention during Stage 2 can prevent a child from developing real steering feel – save the remote for genuine safety moments.
Rushing a hesitant child. Pushing a nervous child into solo driving before they’re ready often creates lasting reluctance rather than confidence.
Teaching on the wrong terrain. Grass, gravel, and inclines add difficulty that should come after – not during – basic control is established on flat ground.
Assuming one lesson is enough. Skill-building happens across repeated short sessions, not a single long one.
Teaching Two Kids to Share One Ride-On Jeep
Because most ride-on Jeeps are 2-seaters, teaching often involves more than one child – and that adds a social layer on top of the driving skill itself. A few things help this go smoothly:
Teach each child the driving stages individually before expecting them to take turns smoothly. A child who hasn’t reached Stage 3 solo shouldn’t be the one behind the wheel with a sibling as a passenger.
Set a visible, agreed turn-taking system – a timer, a lap count, or alternating driveway laps – before the first ride, not after the first argument.
Establish a clear rule that the driver, not the passenger, controls speed and steering decisions, to avoid backseat grabbing at the wheel.
Expect the older or more confident sibling to reach independent driving faster – that’s normal, and it’s fine for siblings to be at different stages at the same time.
What to Do If Your Child Is Scared or Reluctant
Some children are excited from the first remote-controlled ride. Others need much longer, and a few resist getting in the Jeep at all. That reluctance is common and usually temporary – pushing through it rarely helps.
Stay in Stage 1 (remote-only) for as long as the child needs. There’s no downside to extending it across many sessions.
Let the child watch a sibling, friend, or parent “drive” the Jeep first, from a safe distance, before asking them to get in.
Offer control of small things first – the horn, the lights, the music – before asking them to control movement.
Never force a child into the driver’s seat. A single bad experience can set back progress by weeks; patience rarely does.
If reluctance seems tied to the Jeep itself – unexpected noises, a jerky start, or inconsistent response to the pedal – rather than ordinary first-time nerves, it’s worth ruling out a mechanical issue before continuing lessons. Thetroubleshooting guide for a ride-on Jeep that isn’t behaving as expected covers the most common causes.
Simple Drills to Build Confidence and Control
Once a child is in Stage 2 or 3, short, structured drills build skill faster than open-ended free driving:
Straight line practice: two markers a short distance apart; drive from one to the other and stop cleanly.
Wide turns: a gentle loop around a single cone or object, focused on smooth steering rather than speed.
Stop-on-command: drive freely within the practice area and stop the instant a parent calls “stop,” repeated until the response is immediate.
Reverse and park: for slightly older, more confident drivers, practicing reversing into a marked spot builds spatial awareness.
Safety Reminders While Teaching
An adult should be present and within remote range for every session at every stage, including Stage 4.
Buckle the seat belt and confirm doors are latched before every ride, regardless of how experienced the child has become.
Keep speed increases tied to demonstrated skill, not age or excitement – a child can be a confident 6-year-old and still need more time on the lowest setting.
Agree on boundaries before the engine turns on, not mid-ride.
No amount of teaching structure replaces attentive supervision. For the full set of household ground rules – doors, seat belts, terrain limits, and more – see theride-on UTV and Jeep safety guide, and keep the Jeep in good working order with theride-on UTV and Jeep maintenance guide so tires, doors, and battery performance stay predictable while your child is learning.
Frequently Asked Questions
At what age can a child start learning to drive a ride-on Jeep?
Most 2-seater off-road ride-on Jeeps are rated for ages 3 to 8, and the remote-only stage can begin as soon as a child fits safely in the seat and seat belt. Actual independent driving typically starts later – many children aren’t ready for Stage 3 or 4 until they’ve had several supervised sessions, regardless of age.
How long does it usually take a child to learn to drive on their own?
It varies widely by child. Some move from remote-only riding to confident supervised solo driving within a few sessions over one or two weekends. Others take a full season of short, regular practice. Consistency across sessions matters more than the total time it takes.
Should I let my child skip remote control mode and go straight to driving?
It’s generally better not to. Remote-only mode lets a child get comfortable with how the Jeep moves, sounds, and feels before they’re also responsible for controlling it, which tends to build steadier confidence than starting with full control on day one.
What if my child cries or refuses to get in the Jeep?
This is common and usually temporary. Slow down, let them watch someone else ride first, offer control of small features like the horn or lights, and avoid forcing them into the seat. Most reluctance resolves with patience rather than persuasion.
How do I know if my child is ready for a higher speed setting?
Look for consistent, reliable stopping on command and smooth steering across several sessions at the current speed – not just one good ride. If reaction time still lags or steering is jerky, stay at the current setting a while longer.
What’s the safest place to practice driving a ride-on Jeep?
A flat, enclosed area away from the street – a driveway, cul-de-sac, or fenced yard – is best for early lessons. Save grass, gravel, and any incline for later sessions, once basic steering and stopping are reliable on flat ground.
Do both kids need separate lessons if they’ll share one Jeep?
Yes, generally. Each child should progress through the stages individually so both have reliable control before taking turns driving with the other as a passenger. Set a clear turn-taking system before the first shared ride to avoid disputes.
Final Thoughts
Teaching a child to drive a ride-on Jeep isn’t just about getting from the box to the backyard – it’s a genuine, if small-scale, skill-building process, and treating it that way pays off. A child who’s worked through remote-only rides, guided practice, supervised solo driving, and finally independent driving within clear house rules ends up a far more confident and careful driver than one who was simply handed the keys.