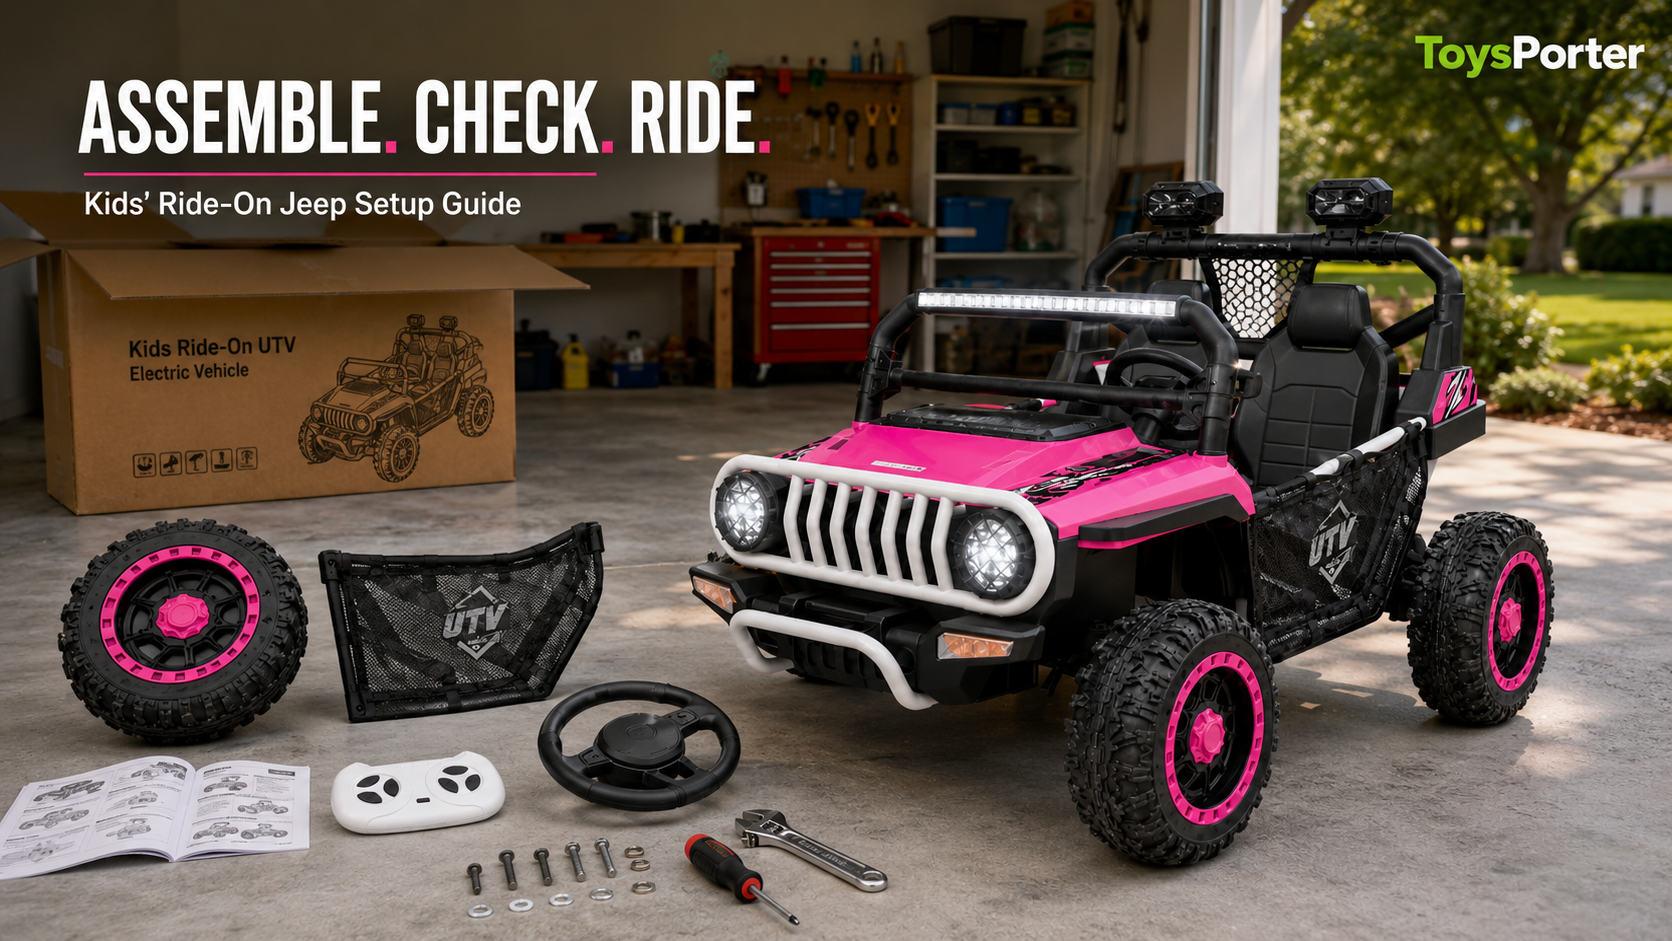
Most kids’ ride-on Jeeps and UTVs do not arrive ready to drive. They ship partially disassembled, with the body, doors, wheels, seat, and steering wheel packed separately to protect them in transit, so opening the box for the first time can feel more like a project than a toy. That surprise is one of the most common things parents mention after their first ride-on purchase.
The good news is that assembly does not require mechanical experience. Most models go together with a screwdriver, roughly 30 to 90 minutes, and ideally a second set of hands. This guide walks through what is actually in the box, the order assembly usually follows, the mistakes that trip up parents most often, and the safety check worth running before your child’s first ride.
Do Ride-On Jeeps Come Fully Assembled?
No. Nearly every electric ride-on Jeep, UTV, or truck ships with the wheels, doors, seat, steering wheel, and sometimes the roll bar or light bar detached from the main body. This protects the parts during shipping and keeps the box a manageable size. The chassis itself, including the motor and most of the wiring, is almost always pre-assembled, so the work that is left for parents is mechanical assembly rather than electrical work.
What’s Actually in the Box
Main body and chassis, with the motor and most wiring already installed
Wheels, sometimes pre-attached and sometimes loose with axle hardware
Doors, usually shipped detached so they are not damaged in transit
Roll bar or light bar, on models that include one
Seat and seatbelt assembly
Steering wheel and horn cover
Battery, which may already be connected or packed separately for safety
Parental remote control and antenna
A bag of hardware (bolts, screws, washers) and sometimes a small wrench
A printed instruction manual, though the quality of these varies noticeably between models
Tools You’ll Actually Need
Most ride-on Jeeps and UTVs are designed to be assembled with basic household tools. Nothing here is specialized.
Tool
Why You Need It
Phillips-head screwdriver (or the one included in the box)
Handles most panel, door, and wheel bolts
Adjustable wrench or the included spanner
Tightens axle nuts and any larger hardware
A second adult, or an older child
Holds the body steady while doors and wheels are attached
A flat, open workspace
A garage floor or driveway gives enough room to lay out every part
A cordless drill with a Phillips bit (optional)
Speeds up the dozens of small screws, but is not required
Before You Touch a Bolt: 3 Things Worth Doing First
1. Lay out every part and check it against the manual’s parts list before starting. This catches a missing or damaged part in minutes rather than discovering it halfway through assembly.
2. Start charging the battery. Many 24V ride-on batteries are recommended to charge for an extended period, commonly around 8 to 12 hours, before the first use, and it makes sense to run that in the background while the vehicle comes together.
3. Read through the entire manual once before starting, even if the diagrams are rough. It is far easier to catch an out-of-order step from an overview than to notice it midway through, once a panel is already screwed down.
Step-by-Step Assembly Walkthrough
The exact sequence varies slightly by model, but most ride-on Jeeps, UTVs, and trucks follow a similar order. Refer to the manual for your specific model, since bolt counts and bracket positions differ between vehicles.
1. Attach the Wheels
If the wheels are not pre-attached, slide each one onto its axle and secure it with the included nut or clip. Check tread direction before tightening; on some models the front and rear tires are not interchangeable, and a few have directional tread that only grips correctly one way. Snug the axle nut firmly by hand, then give it a final quarter-turn with the wrench. Overtightening can bind the wheel against the axle housing and make it harder to spin freely.
2. Install the Doors
Line up the door hinges with the body mounts and start the screws loosely before tightening any of them fully. Open and close the door a few times at this stage to make sure it swings freely and the latch catches, then go back and tighten every screw. Testing before final tightening is the single easiest way to avoid a door that binds or will not latch once everything is screwed down.
3. Mount the Roll Bar or Light Bar
On models with a roll bar or LED light bar, route any wiring through the frame before the final mounting screws go in. Trying to feed a wire through a small frame opening after the bar is already bolted down is one of the more common frustrations parents run into during this step.
4. Secure the Seat and Seatbelt
Bolt the seat into position, then click the seatbelt buckle and give it a firm tug to confirm it holds. This is also the easiest moment to adjust the seatbelt length for your child’s size, since the seat is fully accessible before the doors and roll bar close things in.
5. Fit the Steering Wheel and Horn Cover
Most steering wheels push or click onto a splined column and are held with a single center screw or cap. If a horn cover snaps over a button underneath, make sure it is seated flush before pressing down, or the horn may not register a press later.
6. Connect the Battery
Battery connectors on kids’ ride-on vehicles are almost always keyed, meaning they only fit one way. Line the connector up gently and let it click into place rather than forcing it. A connector that is not fully seated is one of the most common reasons a freshly assembled vehicle powers on (lights and sound working) but will not actually move.
7. Pair the Parent Remote
Power on the vehicle first, then turn on the remote, following the pairing steps in the manual. Before your child ever sits in the seat, test forward, reverse, turning, and the emergency brake from the remote. This step matters as much as any bolt in the assembly, since it confirms the safety feature you are relying on for the first several rides actually works.
How Long Does Assembly Actually Take?
Assembly time varies more by model complexity and manual quality than by how mechanically confident the parent is. Based on the range of experiences Toysporter customers report after unboxing, here is a realistic breakdown.
Vehicle Type
Typical Assembly Time
Single-seat ATV or smaller ride-on
20 to 45 minutes, one person
2-seater Jeep-style UTV
45 to 90 minutes, ideally two people
2-seater with roll bar, light bar, and full doors
60 to 120 minutes, two people recommended
Having a second person does more than speed things up. Doors, roll bars, and wheels are all easier to align when one person holds the body steady while the other drives the screws, and it is the single biggest factor separating a 45-minute build from a two-hour one.
Common Assembly Mistakes (and How to Avoid Them)
• Attaching wheels before checking left/right orientation – some tire treads are directional and only grip properly when mounted the right way.
• Fully tightening doors before testing them – a hinge that feels stiff is much easier to adjust before the final screws are in than after.
• Forcing the battery connector – it is keyed to fit one way; forcing it in backward can bend or damage the pins.
• Overtightening plastic body screws – stripped mounting holes are one of the most common early issues owners report, and they are almost always avoidable with a lighter touch.
• Skipping the remote and brake test before the first ride – confirm every function works with no one in the seat.
• Missing a bracket step buried in a sparse diagram – a loose panel or a part that will not sit flush is often a sign a small earlier bracket was skipped, not a defective part.
What to Do If Instructions Are Unclear or a Part Is Missing
Assembly manuals for ride-on toys are not always as detailed as parents would like, and it is common to hit a step that is illustrated but not explained. If a diagram is genuinely ambiguous, or a part seems to be missing from the box, contact the retailer’s support team before improvising a fix.
Toysporter’s support team can often provide a video walkthrough for a specific model, and itsFAQs pagecovers current return and warranty timelines if a part turns out to be defective rather than simply confusing to install.
First-Ride Safety Check (Do This Before the Child Gets In)
Once assembly is finished, run through this checklist with no one in the seat. It takes about two minutes and catches the issues that matter most before your child’s first ride.
• Both doors latch fully and do not pop open when pushed
• The seatbelt clicks and holds under a firm tug
• The remote controls forward, reverse, and steering correctly
• The emergency brake stops the vehicle instantly from the remote
• All four wheels spin freely with no rubbing against the body
• Every screw is snug, with none stripped or spinning loose
Once the vehicle passes this check, it is ready for its first ride. If your child is new to driving it, our guide toteaching a child to drive a ride-on Jeep walks through the transition from full remote control to solo driving. If anything on this checklist does not pass, ourride-on Jeep troubleshooting guide covers the most common fixes before you assume a part is defective.
Choosing an Easier Assembly if You Haven’t Bought Yet
If you are still comparing models, assembly complexity is worth factoring in alongside price and features. Single-seat models are generally the fastest to build, while 2-seater Jeep-styleride-on UTVs with full doors and a roll bar take longer simply because there are more parts. Toysporter’s UTV lineup runs on a common 24V, 10AH battery platform with a 2.4GHz parental remote across most models, which means the assembly steps for connecting the battery and pairing the remote stay consistent from one model to the next. OurJeep buying guide covers the feature differences worth weighing before you order, and the 2-seaterride-on truck lineup follows a similar, slightly simpler assembly process if a fully enclosed cab is not a priority.
Once your Jeep or UTV is up and running, a small amount of ongoing care goes a long way toward getting several riding seasons out of it. OurUTV and Jeep maintenance guide covers tire, door, and battery care, and ourterrain guideexplains what surfaces the vehicle is actually built to handle once you are ready for the first real outdoor test.
Frequently Asked Questions
Do ride-on Jeeps come fully assembled?
No. The wheels, doors, seat, and steering wheel are almost always shipped detached to protect them in transit. The chassis and motor arrive pre-assembled, so what is left is mechanical assembly rather than electrical work.
How long does it take to assemble a ride-on Jeep or UTV?
Most single-seat models take 20 to 45 minutes. 2-seater Jeep-style UTVs with doors and a roll bar typically take 45 to 120 minutes, and having two people usually cuts that time roughly in half.
What tools do I need to assemble a kids’ ride-on Jeep?
A Phillips-head screwdriver and an adjustable wrench cover nearly every model. The screwdriver is usually included in the box, and no specialized tools are required.
Why won’t my ride-on Jeep move even though the lights and sound work?
This is most often a battery connector that is not fully seated rather than a defective vehicle. Check that the connector clicked into place, then confirm the battery has a full charge before assuming a bigger issue.
Can one person assemble a ride-on Jeep alone?
Yes, though it takes longer and is more difficult, particularly when attaching doors and the roll bar. A second person to hold the body steady while screws are driven in is the biggest factor in a faster, easier build.
Do I need to charge the battery before assembling the vehicle?
You can start the initial charge before or during assembly, since it typically takes several hours. Starting it early means the vehicle is ready to test as soon as the last screw is in.