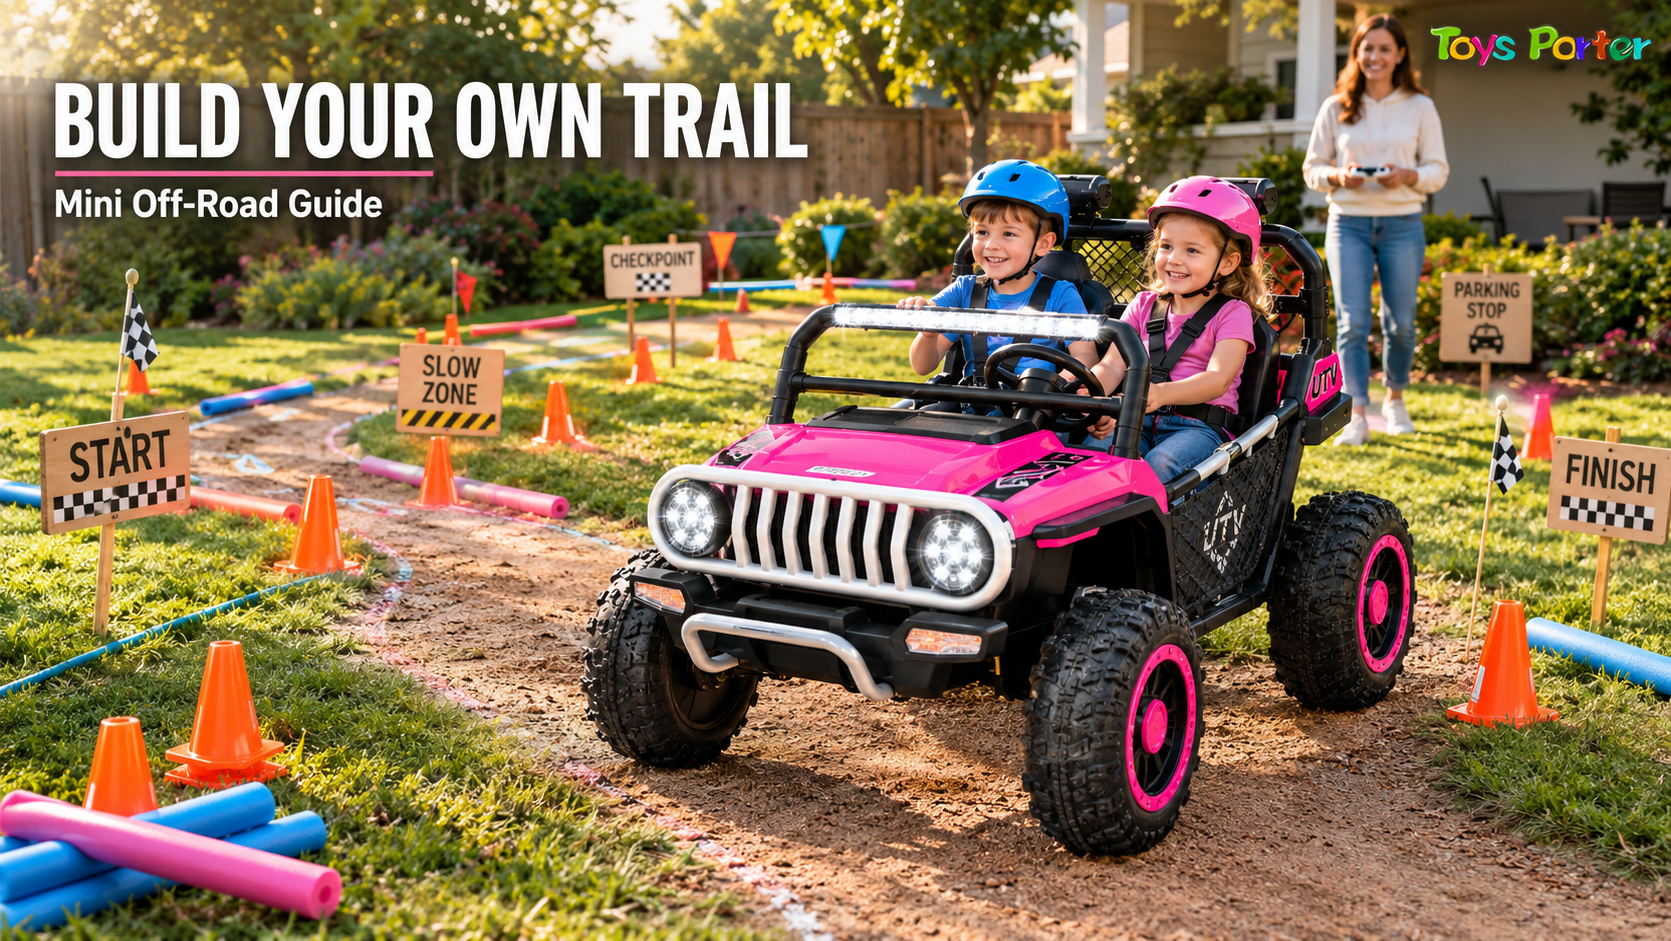
A backyard is often the only “off-road terrain” a kids’ ride-on Jeep will ever see, but that doesn’t mean the driving experience has to be flat and predictable. With some planning, a small stretch of yard, driveway, or open outdoor space can become a mini trail with turns, checkpoints, and gentle obstacles that make every ride feel like a real adventure.
In short: a mini off-road trail for a ride-on Jeep is a small, deliberately laid-out loop or path – typically built with cones, soft markers, and simple terrain features – that gives a child a route to follow instead of open, aimless driving. Most home trails work well in a space as small as 15 by 20 feet, and the design should scale with the child’s age, driving experience, and the specific vehicle’s capabilities.
This guide walks through how to actually plan and build one, from measuring your space to adjusting the trail as your child’s confidence grows.
Why Build a Trail Instead of Just Letting Kids Drive Freely
Unstructured driving gets boring fast. A child circling an empty yard for ten minutes will usually lose interest, while a small route with a beginning, a few turns, and a destination gives the ride a sense of purpose. A trail also gives you, as the supervising adult, a way to control where the vehicle goes – keeping it away from the garden bed, the pool, or the edge of the driveway – without constantly redirecting your child mid-ride.
There’s also a skill-building angle. A simple layout with turns and stop points helps a child practice steering, judging distance, and controlling speed in a low-stakes setting, which tends to make them more confident and more careful drivers over time.
Step 1: Measure and Choose Your Space
Before sketching any layout, walk your intended area and get a rough sense of its size and shape.
Space needed:
A basic loop trail can work in as little as 15 x 20 feet, though more room always helps
A figure-eight or multi-section trail benefits from at least 25 x 30 feet
Leave a minimum of 3–4 feet of clearance on either side of the path for turning and for a margin of error
Add extra buffer space anywhere the trail runs close to a fence, wall, flower bed, or parked vehicle
Good locations to consider:
A flat backyard lawn
A driveway or paved patio area
A large, level side yard
Any private outdoor space free of traffic and pedestrians
Whatever space you choose, walk it yourself first and look for anything that could catch a wheel or cause a tip: exposed roots, sprinkler heads, holes, loose rocks, or uneven pavement seams. These are worth fixing or routing around before the trail is ever used, not something to discover mid-ride.
Not every ride-on Jeep is rated for the same surfaces, so it’s worth checking your specific vehicle’s guidance before building a route on gravel, dirt, or grass rather than assuming any terrain will work.
Step 2: Sketch the Layout Before You Build
It helps to draw a rough map – even a quick sketch on paper – before placing a single cone. Think of the trail in terms of a simple story: where does the drive start, what happens along the way, and where does it end?
A few layout principles that work well for home trails:
Start with a loop. A basic circle or oval is the easiest shape to lay out and the easiest for a young driver to follow.
Add one or two gentle curves rather than sharp corners. Wide, sweeping turns are far easier for a beginner to manage than tight angles.
Keep the path wide enough for the specific vehicle – a two-seater Jeep needs more turning room than a smaller single-seat ride-on.
Include a clear start and end point, such as a “garage” marked with cones or a driveway chalk line, so each drive has a defined beginning and finish.
Avoid dead ends that require backing up, which is a harder skill for most young drivers to manage confidently.
Once you’re happy with the basic shape, walk it yourself at a slow pace to check sightlines and confirm there’s enough room for a wide turn at every corner.
Step 3: Choose Safe, Simple Materials
You don’t need specialized equipment to mark a mini trail – most of what you need is either inexpensive or already in the garage.
Material
Use
Notes
Small traffic cones
Marking turns, boundaries, checkpoints
Lightweight and easy to reposition
Pool noodles (cut into segments)
Soft boundary markers
Won’t damage the vehicle on light contact
Sidewalk chalk
Drawing the path on pavement
Easy to redraw as the layout changes
Garden flags or small stakes
Checkpoints, mile markers
Keep away from the direct driving path
Rope or garden hose
Defining a path edge on grass
Lay flat, never taut or elevated
Cardboard signs
Directional cues, themed decoration
Weigh down or tape to avoid blowing into the path
Avoid anything rigid, sharp-edged, or heavy enough to cause damage on contact – wooden planks, bricks, patio furniture, and garden tools have no place inside the driving path. Anything used as a marker should be light enough that a light bump causes no harm to the vehicle or the rider.
Step 4: Add Gentle Features and Obstacles
This is where the trail starts to feel like a genuine mini off-road course rather than a plain loop. The key word is gentle – the goal is variety and engagement, not difficulty for its own sake.
Ideas that work well for most home trails:
A slow zone marked by two cones where the driver has to ease off the pedal
A winding section using three or four cones spaced to create soft S-curves
A designated parking spot where the driver practices stopping precisely within marked lines
A shallow dip or gentle grade transition, only if your yard already has one naturally and it’s mild enough not to affect vehicle control – never build an artificial slope or ramp
A themed checkpoint, like a “ranger station” or “fuel stop,” where the child pauses briefly before continuing
What to avoid entirely: jumps, ramps, steep slopes, unstable surfaces, standing water, deep mud, and any obstacle designed to test the vehicle’s limits rather than the driver’s skill. A mini trail should build confidence, not create risk. If you’re ever unsure whether a feature is appropriate for your specific ride-on Jeep, it’s worth checking the manufacturer’s guidance for that model rather than guessing.
Step 5: Match the Difficulty to the Child
A trail that’s exciting for a confident seven-year-old can be overwhelming for a three-year-old just learning to steer, and a course that’s too tame for years can feel boring fast. Design (and adjust) with your specific child in mind.
Beginner-friendly trail:
Wide, single loop with no more than one gentle curve
No stop-and-go checkpoints – just a smooth, predictable path
Adult walking alongside for the first several sessions
Vehicle set to its lowest available speed, if the model offers speed settings
Intermediate trail:
Simple loop with two or three curves and a defined parking or stopping point
One themed checkpoint to add a small mission
Adult supervising from a short distance rather than walking alongside
More advanced trail (for an experienced, confident driver):
Figure-eight or multi-loop layout with several turns
Multiple checkpoints creating a short “route” with a beginning, middle, and end
A slow zone and a parking challenge included for skill practice
Adult still present and supervising, even if not walking the course directly
The right starting point depends on your child’s age, how much practice they’ve already had, and the specific vehicle’s handling characteristics – not a fixed age cutoff. Some five-year-olds are ready for a winding, multi-checkpoint route; others do better sticking with a simple loop for a while longer, and that’s completely normal.
Step 6: Build in Safety From the Start
Safety shouldn’t feel like a separate checklist tacked onto the end – it should shape the trail from the very first sketch.
A few considerations to build in as you go:
Keep the entire route well away from streets, driveways with through-traffic, pools, and parking areas
Maintain enough straightaway distance before any stop or turn so the child has time to slow down comfortably
Choose a surface appropriate for your specific ride-on Jeep, and skip terrain the manufacturer doesn’t recommend
Keep the path clear of standing water, deep mud, holes, and loose debris
Use only soft, lightweight materials as markers – nothing rigid or sharp
Have an adult actively supervising every session, particularly during the first few runs on a new layout
Follow the vehicle’s specified age and weight guidance rather than assuming a trail that works for one child’s ride-on will work the same way for a different model
None of this needs to feel restrictive. A well-planned trail is often safer than free-roaming play, simply because the route, speed, and hazards are all considered in advance rather than discovered in the moment.
Step 7: Evolve the Trail Over Time
A mini trail doesn’t need to stay the same forever – in fact, it shouldn’t. As your child gets more comfortable steering and stopping, the layout can grow with them.
Simple ways to adjust the trail over time:
Add one new curve or checkpoint every few weeks rather than redesigning everything at once
Gradually reduce how closely you supervise, moving from walking alongside to observing from a nearby spot
Introduce a themed mission (a “supply run” or “ranger patrol”) once the basic loop feels too repetitive
Swap or remove obstacles that no longer challenge your child, and retire any that turn out to be tricky for the wrong reasons
Reassess the whole layout each season, since grass growth, ground softness, and daylight hours can all change how well a route works
Treat the trail as a living project rather than a one-time build. Revisiting it every so often keeps it fresh and keeps pace with your child’s growing skill.
Practical Trail Examples
The Beginner Loop: A single wide oval, roughly 15 x 15 feet, marked with six to eight cones. No sharp turns, no checkpoints – just a smooth, repeatable path for a first-time driver to get comfortable with steering and stopping.
The Backyard Obstacle Course: A slightly larger loop with a slow zone, a marked parking spot, and one gentle curve. Good for a child who has mastered the basic loop and is ready to practice specific skills.
The Mini Adventure Route: A winding path with two or three themed checkpoints – a “ranger station,” a “fuel stop,” a “campsite” – giving the drive a light narrative structure rather than just repeating laps.
The Advanced Trail: A figure-eight or multi-section layout combining curves, a stop-and-go checkpoint, and a parking challenge, suited to an experienced driver who’s outgrown the simpler layouts.
Choosing (or Using) the Right Ride-On Jeep for Trail Play
Not every ride-on vehicle is built the same way, and a trail that works well for one model may need adjusting for another. Features like available speed settings, suspension, and parent remote control all affect how comfortably a child can handle turns, slow zones, and checkpoints.
If you’re shopping for a vehicle with trail play in mind, it’s worth comparing options acrossride-on UTVs for kids, since two-seater UTV-style vehicles often have wider turning requirements than smaller single-seat models – something to factor into how tight your curves can be. For families specifically looking at a Jeep-style option, ToysPorter’s24V 2-seater ride-on Jeep includes three speed settings and a 2.4GHz parent remote, both of which can be useful for introducing a new driver to a trail gradually – starting on the lowest speed with the remote as backup, then stepping back as confidence builds.
How much space do I need for a mini off-road trail? A basic loop can work in about 15 x 20 feet. Larger layouts with multiple curves or checkpoints benefit from 25 x 30 feet or more, plus a few extra feet of clearance around every turn.
Can I build a trail on grass instead of pavement? Many ride-on Jeeps handle grass and packed dirt well, but capability varies by model. Check your specific vehicle’s guidance before routing a trail across grass, dirt, or gravel rather than assuming it will perform the same way it does on a flat driveway.
What’s the easiest way to mark a trail without spending money? Sidewalk chalk on pavement, or a garden hose laid flat on grass, are both free and easy to adjust as you refine the layout.
How do I make the trail more challenging as my child improves? Add one new element at a time – an extra curve, a stop-and-go checkpoint, or a parking challenge – rather than redesigning the whole course at once. Small, incremental changes keep the trail fun without overwhelming a developing driver.
Are hills or ramps okay to include? No. Artificial ramps, jumps, and steep slopes aren’t appropriate additions to a home trail. If your yard has a very mild, naturally occurring grade, that may be fine to include, but building elevation changes on purpose isn’t recommended.
How often should I update the trail layout? There’s no fixed schedule, but reassessing the course every few weeks – or each new season – helps it stay engaging and accounts for any changes in ground conditions.
Final Thoughts
A mini off-road trail turns a ride-on Jeep from a toy that drives in circles into a small, evolving adventure your child can look forward to. The best home trails are simple to start, safe by design, and flexible enough to grow alongside your child’s confidence behind the wheel. Start small, watch how your child handles the first version, and build from there – the trail will tell you what it needs next.