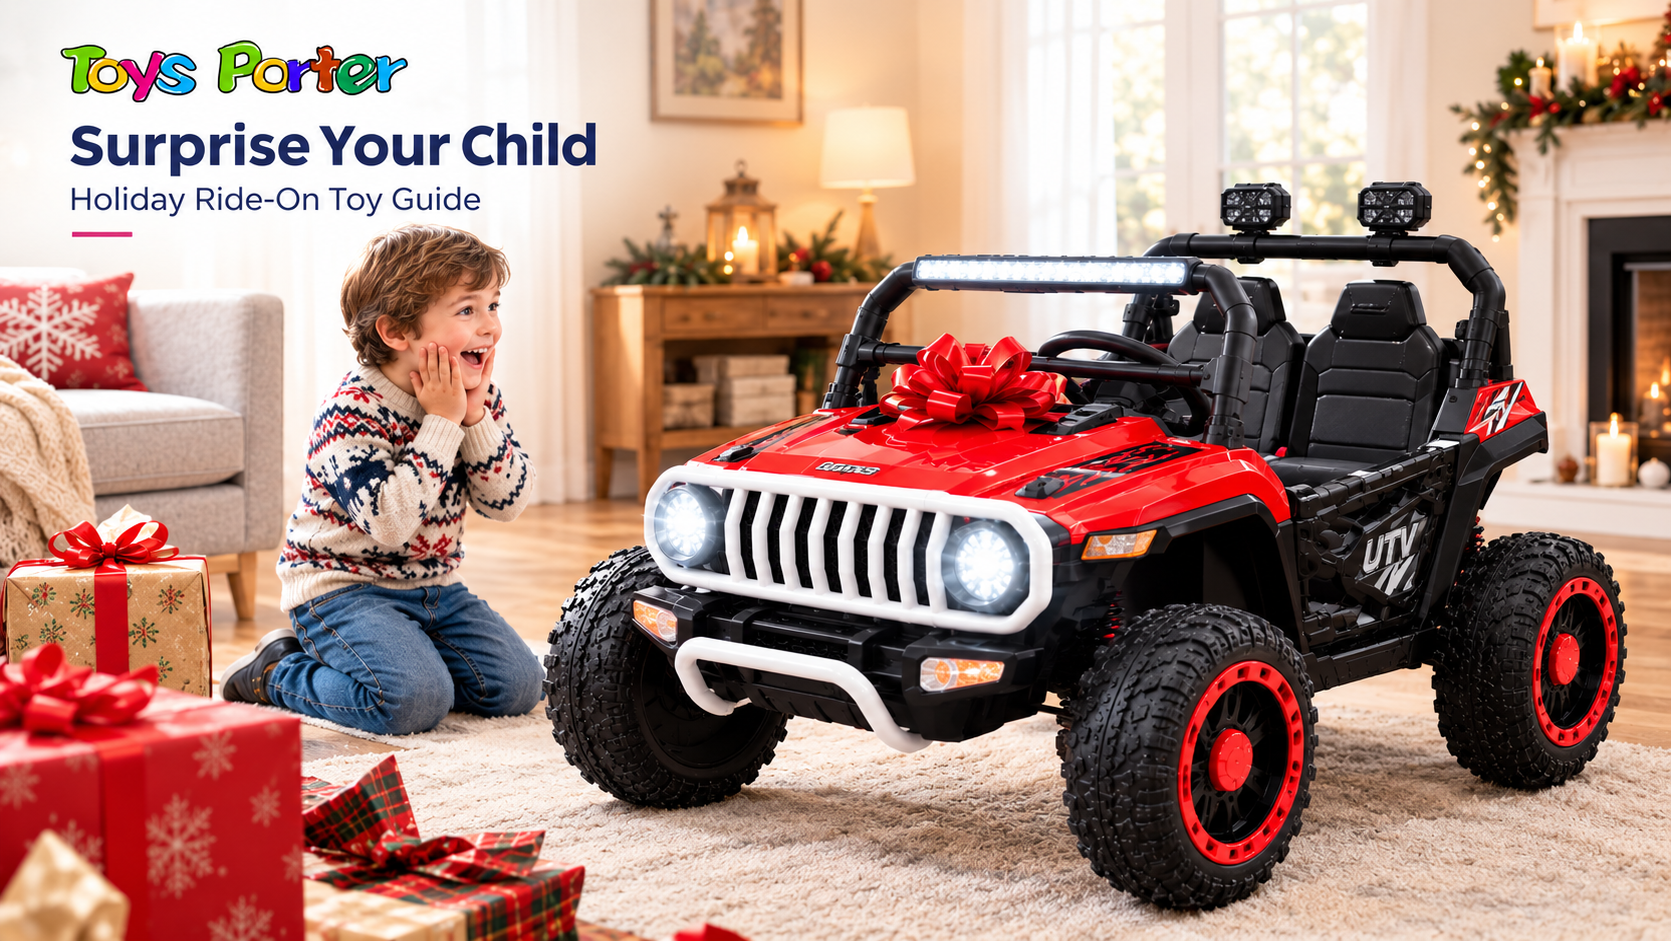
Buying the ride-on toy is the easy part. The harder part happens after it arrives: keeping a large box secret, assembling it without your child noticing, getting the battery charged, and pulling off a reveal that actually goes the way you pictured it.
Quick answer: Most families succeed by ordering with enough lead time to assemble the vehicle fully in advance, storing it somewhere your child doesn’t have regular access to (a locked garage bay, a neighbor’s or relative’s house, a covered spot under a tarp), charging the battery a day or two before the reveal rather than the morning of, and staging the actual moment somewhere calm enough for photos and a real first ride. The rest of this guide walks through each of those steps.
Start With Enough Lead Time
The single biggest reason surprises go sideways is timing. Between shipping, assembly, and a full battery charge, most ride-on vehicles need more lead time than a smaller gift would. Reviewers on Toysporter’s own product pages regularly mention assembly taking anywhere from under 30 minutes to a bit longer depending on the model, plus however long a full charge takes before the vehicle is actually ready to drive. Building in a buffer of at least several days between the box arriving and the reveal date gives you room to assemble at a relaxed pace, address anything unexpected, and still have the battery topped off well ahead of time – rather than scrambling the night before.
Decide When to Assemble It
There are really two approaches, and which one fits depends on your household and how much hiding space you have.
Assemble it fully in advance. This is the more common approach for a “wake up and it’s ready to ride” moment. The vehicle is built, charged, and staged before the big day, so the only thing left is the reveal itself. The tradeoff is that a fully built ride-on toy takes up real space and is harder to keep hidden than a flat box.
Assemble it the morning of (or the night before). Some parents prefer keeping it in the box until close to the reveal, then building it quietly while the child is asleep or occupied elsewhere. This solves the hiding problem but adds pressure – you’re now assembling under a time crunch, which isn’t the moment to be rushing through steps you’d normally take your time with. If you go this route, walking through the process once beforehand (even without fully building it) helps you know what you’re doing when it counts. Toysporter’sstep-by-step guide to assembling a kids’ ride-on Jeep is a useful dry run for exactly this kind of situation, even if your model isn’t a Jeep – the general logic of what gets attached first tends to carry over.
For most families, assembling in advance and focusing your effort on finding a good hiding spot is the less stressful path.
Where to Actually Hide It
This is usually the real puzzle, since a fully built ride-on toy isn’t something you can tuck into a closet.
A locked garage bay or storage room your child doesn’t typically enter, with a sheet or tarp over it in case anyone wanders in
A relative’s or neighbor’s garage, especially useful if your child has full run of your own house and yard
A shed or covered outdoor storage area, as long as it’s protected from rain, direct sun, and freezing temperatures that could affect the battery
A trusted friend’s house, dropped off and picked back up close to the reveal date
If your only realistic option is somewhere your child might stumble into, consider keeping it boxed until the last possible moment instead of fully assembled and exposed.
Charging It Ahead of Time, Not the Morning Of
A ride-on toy that isn’t charged is a disappointing reveal no matter how good the surprise itself was. Charging times vary by model, so rather than guessing on the morning of, charge it fully a day or two in advance and let it sit. Most rechargeable batteries hold a charge reasonably well over a short window, and this removes the risk of an early-morning charging session waking someone up or eating into your prep time. If your storage spot is cold – an unheated garage or shed in winter – bring the battery inside to charge and store it at room temperature beforehand, since extreme cold can affect how well a battery performs on that all-important first ride.
Staging the Actual Reveal
Once the vehicle is built, charged, and ready, the reveal itself is worth a little planning too:
Add a bow, ribbon, or a small handwritten tag rather than trying to wrap the whole vehicle – trying to gift-wrap something this size usually causes more stress than it’s worth.
Consider a “treasure hunt” element, especially for older kids – hide the key or the remote control somewhere for them to find first, building anticipation before they see the vehicle itself.
Have your camera or phone ready before the reveal, not during it. The genuine reaction happens in the first few seconds, and fumbling for a phone means missing it.
Pick a spot with enough room for the actual first few feet of driving, not just enough room to see the vehicle. Kids often want to try it out immediately, and a cramped living room isn’t where that should happen.
Planning the First Ride, Not Just the Reveal
The reveal and the first ride are two different moments, and it’s worth treating them that way. If the big moment happens indoors, plan for the actual first drive to happen somewhere appropriate shortly after – a driveway or backyard once everyone’s had their photos. If it’s the middle of winter, factor in cold-weather realities: a driveway that’s clear of ice, a child bundled up appropriately, and a shorter first ride than you might attempt in warmer weather. Reviewing Toysporter’sride-on UTV and off-road Jeep safety guideahead of time is a good way to make sure the excitement of the moment doesn’t skip over the basics – supervision, a clear riding area, and appropriate speed settings for a first-time ride, especially with a yard full of relatives and a genuinely thrilled kid who wants to go fast immediately.
If your child is entirely new to the vehicle type, it’s worth having a rough plan for the first lesson too, rather than just handing over the controls and hoping for the best. Toysporter’sguide to teaching a child to drive a ride-on Jeep covers a reasonable progression for exactly that first session, even if your model isn’t a Jeep specifically.
If You Have More Than One Child
A single big ride-on toy under the tree can create a genuinely tricky moment if there’s a sibling watching who didn’t get one. A few ways families handle this:
Give each child something of similar scale, even if it’s not identical (a second, smaller ride-on for a younger sibling, or a significant non-ride-on gift for a child who isn’t old enough yet)
Frame it as a “family” vehicle from the start, with an explicit plan for turns, especially useful if the vehicle is a 2-seater
Plan the turn-taking conversation before the reveal, not during it – the middle of an exciting moment is the hardest time to introduce a new rule
If the plan is for siblings to eventually share the same vehicle, Toysporter’s guide onsharing a ride-on Jeep between siblingsis worth reading before the big day, since having a fairness plan already in place makes the actual reveal morning considerably calmer.
A Simple Prep Timeline
Timing
What to Do
2+ weeks before
Order with enough buffer for shipping, assembly, and charging
1 week before
Decide on assembly approach (in advance vs. day-of) and confirm a hiding spot
2–3 days before
Assemble the vehicle if going the “ready in advance” route
1–2 days before
Fully charge the battery; store at room temperature if the hiding spot is cold
Morning of
Stage the reveal spot, have your camera ready, plan where the first actual ride will happen
The Bottom Line
The hardest part of surprising a child with a ride-on toy usually isn’t finding the right vehicle – it’s the week between the box arriving and the moment they see it. A little lead time, a realistic hiding plan, and charging the battery well before the big day are what separate a smooth reveal from a rushed, stressful one. Once the moment itself is over,Toysporter’s full ride-on toy lineup has the follow-up guides worth bookmarking for whatever comes next – the first real driving lesson, sharing it fairly between siblings, or just keeping it running well for years to come.
FAQ
How long does it take to assemble a kids’ ride-on toy?
It varies by model, but many ride-on vehicles can be assembled in well under an hour, with some models needing only a handful of parts attached. Building in extra time beyond the minimum estimate is still worth doing, especially if you’re assembling quietly or under time pressure.
Should I charge the battery the night before or further in advance?
Charging a day or two ahead is generally safer than waiting until the last minute. It removes the risk of a charging session running long, being noisy at the wrong time, or simply not finishing before the reveal.
Where’s the best place to hide a fully assembled ride-on toy?
A locked garage, storage room, or a relative’s or neighbor’s house tend to work best, since these are places your child doesn’t have regular unsupervised access to. Covering it with a sheet or tarp adds an extra layer of protection against an accidental discovery.
Is it better to assemble the vehicle before or after the reveal?
Assembling in advance is less stressful for most parents, since the reveal itself becomes the only thing left to manage. Assembling close to the reveal date solves the hiding problem but adds real time pressure, so it’s worth practicing the build once beforehand if you go this route.
What if I have more than one child and only bought one ride-on toy?
Planning the fairness conversation – turn-taking, a second smaller gift, or framing it as a shared family vehicle – before the reveal makes the actual moment much calmer than trying to sort it out in real time while everyone’s excited.
Is it safe to let a child ride a new ride-on toy immediately after the reveal?
It’s fine as long as normal safety basics are in place: a clear, appropriate riding area, supervision, and – especially for a completely new rider – starting at a lower speed setting rather than letting excitement dictate the pace of that first ride.